Wolf's Lair (Known as Wolfsschanze in German) was a military headquarters constructed in 1941 for use by the Third Reich. The name comes from Adolf Hitler's self-adopted nickname of 'Wolf'. It was Hitler's first Eastern Front military headquarters in World War II and constructed for the start of Operation Barbarossa (the code name for Nazi Germany's invasion of the Soviet Union in WWII).
The Todt Organisation, a Third Reich civil and military engineering group were responsible for its construction in a carefully chosen and top secret location; the site chosen was in the Görlitz Forest, approximately 5 miles east of the East Prussian town of Rastenburg (modern day Kętrzyn, northeast Poland). Hitler chose the location in the forest for his own purposes, which included its close proximity to Russia (about 50 miles), the great Mazurian Lakes system nearby providing a natural defence from possible Soviet aggression, existing strategic fortresses, barracks and garrisons, a low population in the area and the forest which would provide a natural camouflage.
During WWII, Adolf Hitler spent over 800 days in total at Wolf's Lair from his arrival in June 1941 until his final departure in November 1944. The complex, which housed his very own bunker amongst many other heavily fortified constructions, was surrounded by 3 security zones. The inner most zone (Security Zone 1) was guarded by the Reichssicherheitsdienst (RSD) and ringed by steel fencing. It contained bomb proof bunkers made of thick steel-reinforced concrete and housed not only the Führer's Bunker, but such shelters for his most senior officers, such as Hermann Göring, Martin Bormann, Wilhelm Keitel and Alfred Jodl. The next zone (Security Zone 2)was reserved for several Reich ministers and barracks for the RSD whilst the outermost zone (Security Zone 3) was manned by a special armoured security unit (the Führer Begleit Brigade) and contained watchtowers, checkpoints and further defended by landmines. Further protection came in the form of antiaircraft defences and troop stations further away. Despite all of this, the most famous assassination attempt against Adolf Hitler took place here, right in the heart of the complex on 20 July 1944 (see text further down the page).
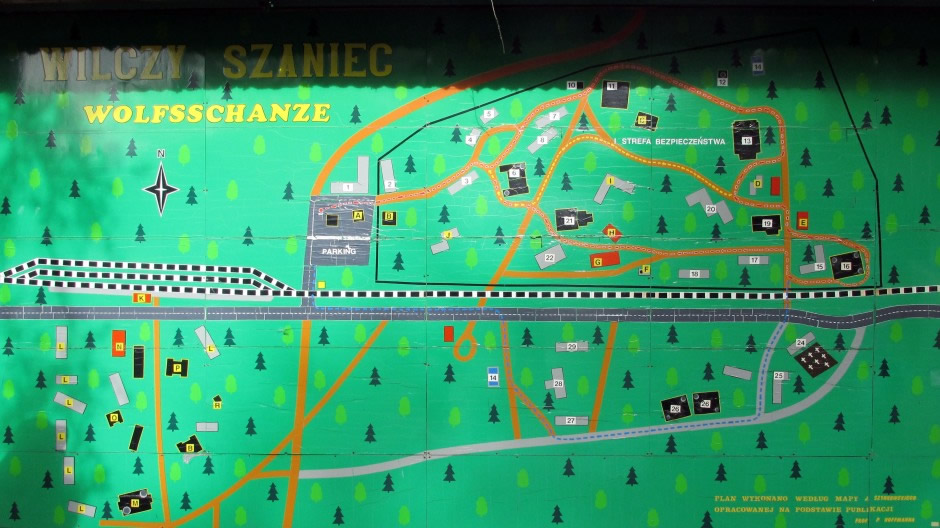
Above: Visitors information board showing a map of the Wolf's Lair site. A detailed map and legend may be found on Wikipedia here.
During the Baltic Offensive in the autumn of 1944, the Red Army made rapid advances in the war effort and had reached the borders of East Prussia. By 20th November Hitler left Wolf's Lair for the final time. By now the Red Army were only approximately 10 miles from the complex. Two days later, orders were given to destroy Wolf's Lair although this didn't happen for a couple more months (on January 23-24, 1945) and when it did, destruction was only partial due to the sheer size and strength of the bunkers. The complex was subsequently abandoned just 48 hours before the Red Army arrived - they took over the site without any shots being fired. It took another 10 years until the landmines surrounding Wolf's Lair had been cleared.
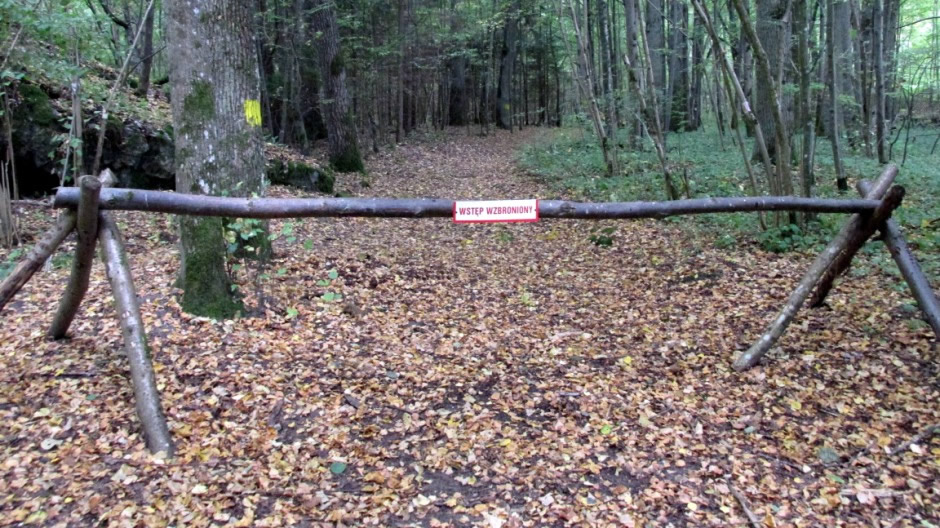
Until the collapse of communism in Poland, the site had been left abandoned. However, since the 1990's, Wolf's Lair has been slowly developing as a site for visitors. Today, there is a small shop, restaurant and car park. For a modest fee, a guide can be hired to take you around the site and explain its history. Photography is permitted, but not for commercial use. As this webpage is non-commercial, below are some photos of the from my rather thought provoking visit which although not comprehensive, covers most of the main constructions to see at the site.
 |
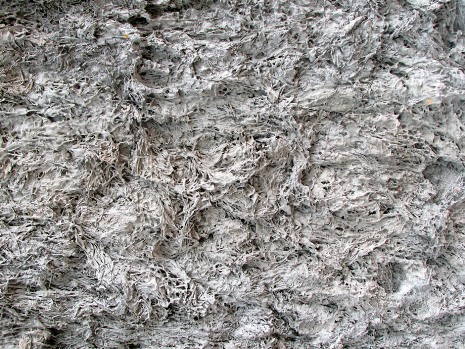 |
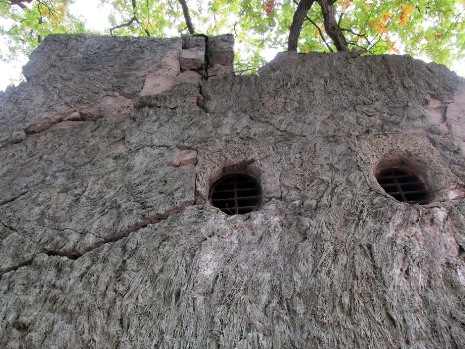
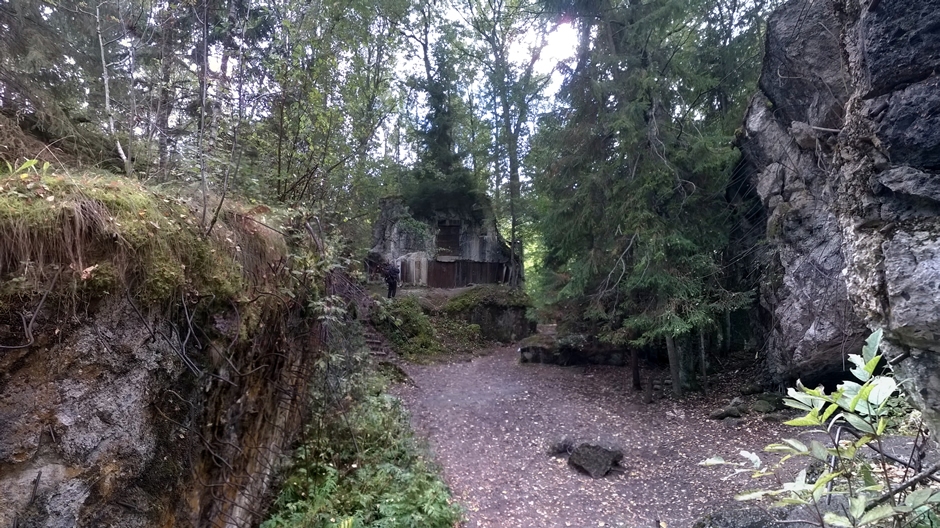
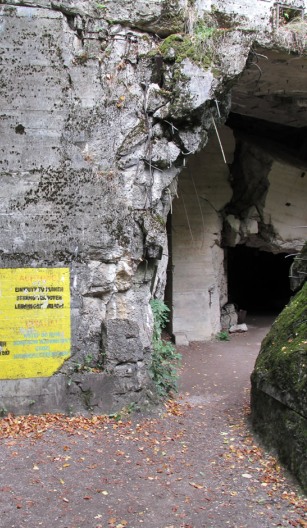
Entrance to the area was possible through only 3 guard posts from the east, west and south. The above photos shows a small bunker adjacent to the visitor's car park. The wall on it seen here is typical of most bunkers which were concreted with seagrass and then at the time painted green or grey for camouflage.
 |
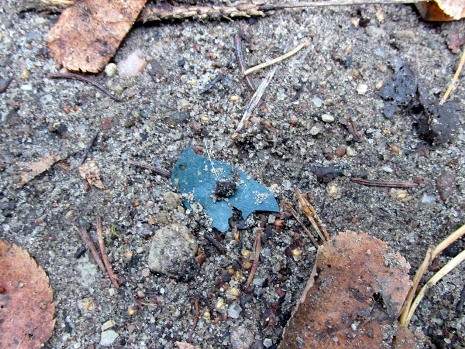 |
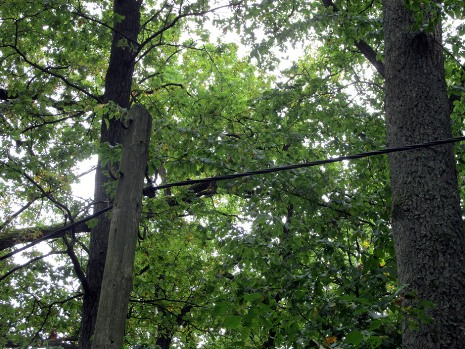
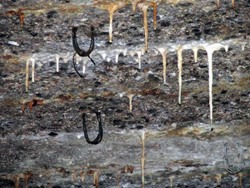
For further camouflage, netting was strung between the trees and today, some of the cables used to hold the netting in place can still be seen (above, left), as can small pieces of green and brown plastic Bakelite used in the camouflage (above, right). Netting was also placed on the roofs of the bunkers, as were specially planted trees and vegetation.
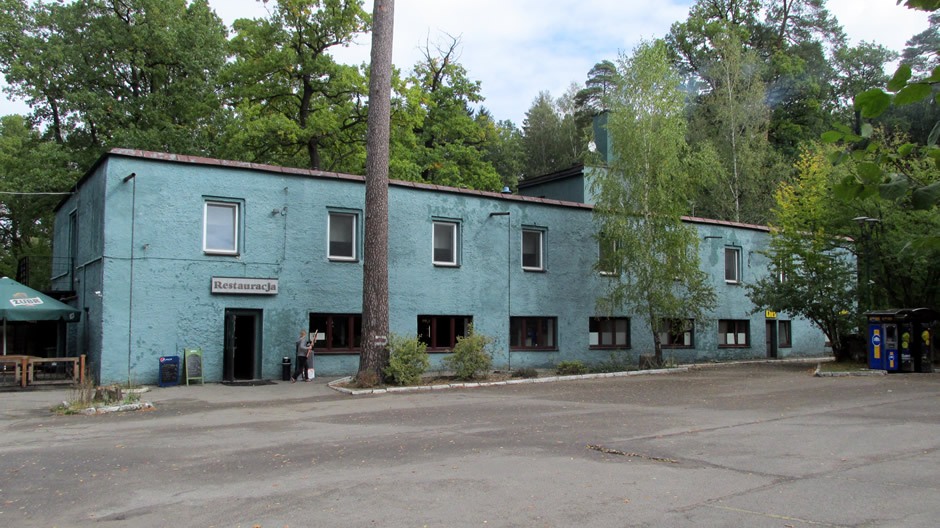
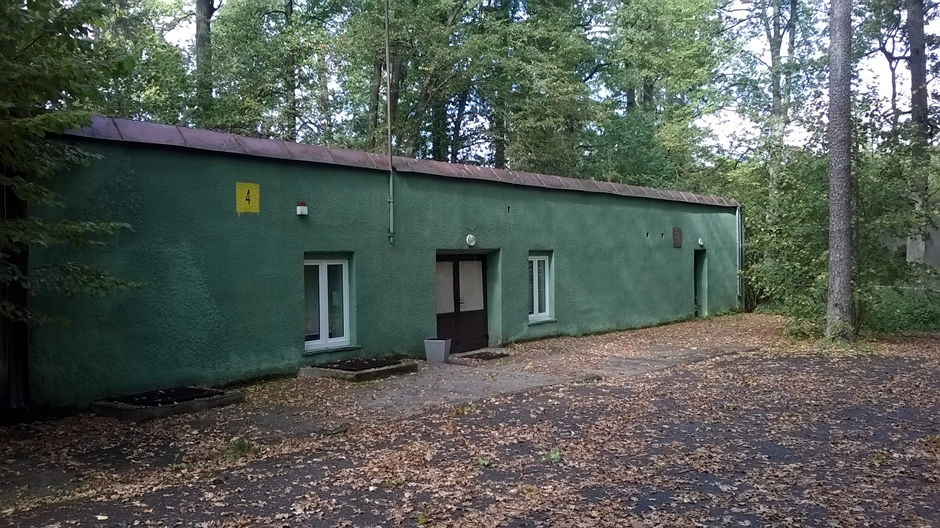
The photo above shows the first main building typically seen by today's visitors, a former quarters of SS-Escort detachments which stands near the main entrance from the visitors car park. This rebuilt structure now serves as a restaurant and a hotel.
Above: Security Service and SS barracks
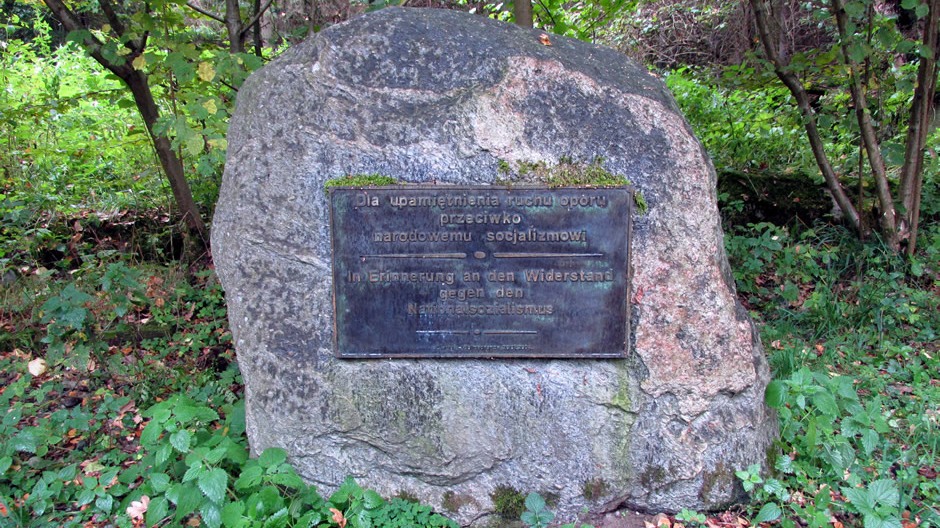
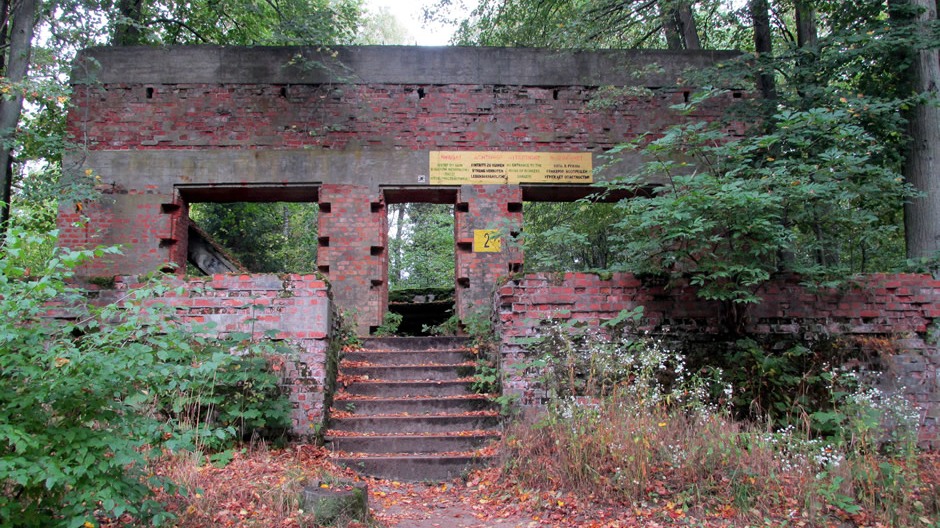
Above: Here is the location of a ruined barracks-type building where conferences were held to discuss the war situation. It is here, one single event took place that could have had a major influence on the course of world history. On 20th July, 1944, Colonel Claus von Stauffenberg arrived with a suitcase bomb containing a chemical fuse. In the most famous assassination attempt on Hitler's life, the bomb exploded but instead of Hitler, four other people died as a result of the explosion. Had Hitler been killed, the plan was to then use the German Reserve Army to oust the Nazi high command and if this coup were successful, to then immediately negotiate a deal for peace with the Allies. Stauffenberg escaped from Wolf's lair to Berlin, but was arrested and executed at around midnight, about 12 hours after the explosion. Along with himself, almost 5000 people were sentenced to death over the incident. Today, there is a monument in memory of Stauffenberg and those who died fighting against the Third Reich (top photo). The plaque on the monument is in German and Polish and translates to "Here stood the barracks in which on 20 July 1944, Claus Schenk Graf von Stauffenberg undertook to assassinate Adolf Hitler, he and many others who had risen against the National Socialist dictatorship - paid with their lives". The plaque in the lower photo above, which is also in Polish and German, reads "In memory of the resistance against the Nazi régime". This particular spot in the woods is, perhaps, a time to pause and reflect. For more information on the assassination attempt of 20th July, 1944, I have provided an external link here. In addition, other attempts on taking Hitler's life took place previously, and these are outlined here.
Above: An RSD (Reichssicherheitsdienst) security command post
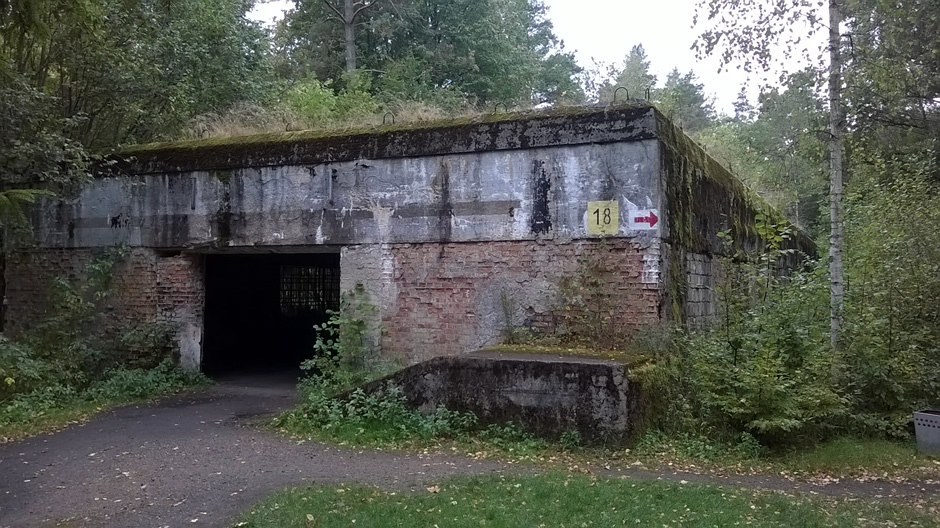
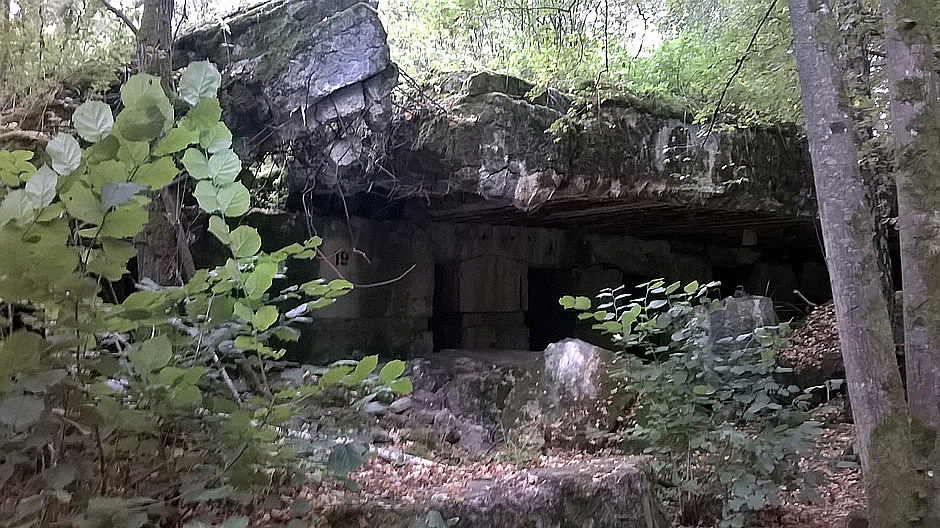
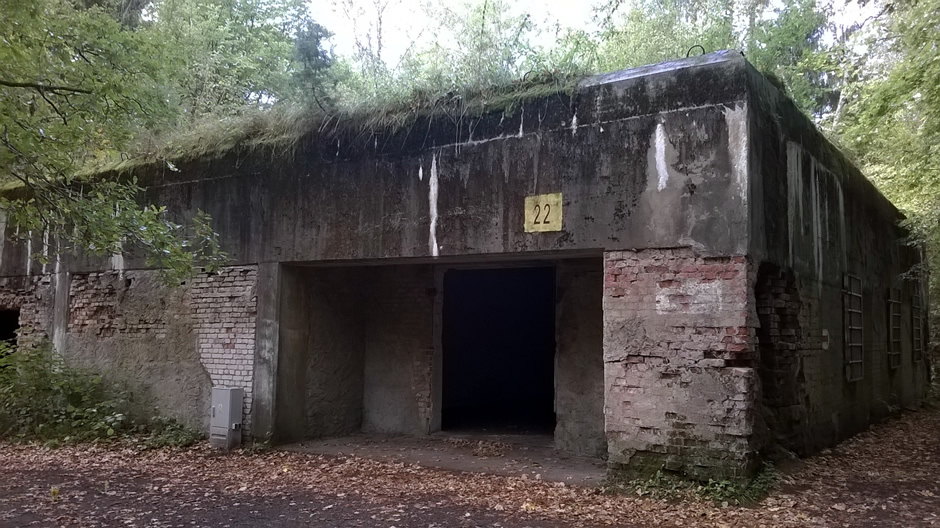
The above photos show the enormous Guest's Bunker. This was 45m long, and 27m wide and had a roof a staggering 7.5m thick. The bunker contained only two rooms.
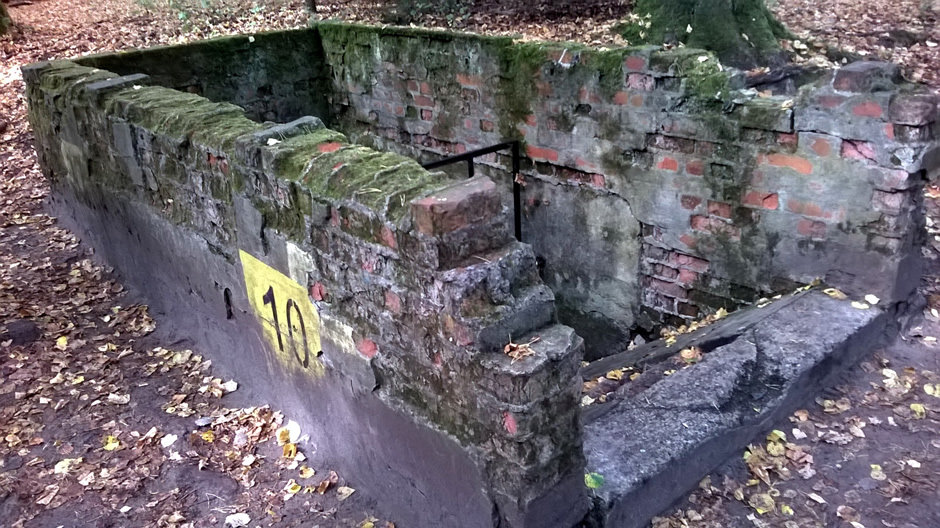
The brick building shown above, which was constructed with a reinforced concrete roof was used by typists/stenographers and secretaries who recorded the conferences and military details.

Similar in structure to the previous building, the one shown above was used by the head of the RSD - Hitler's personal security and also functioned as a post office.
Above: Food storage area
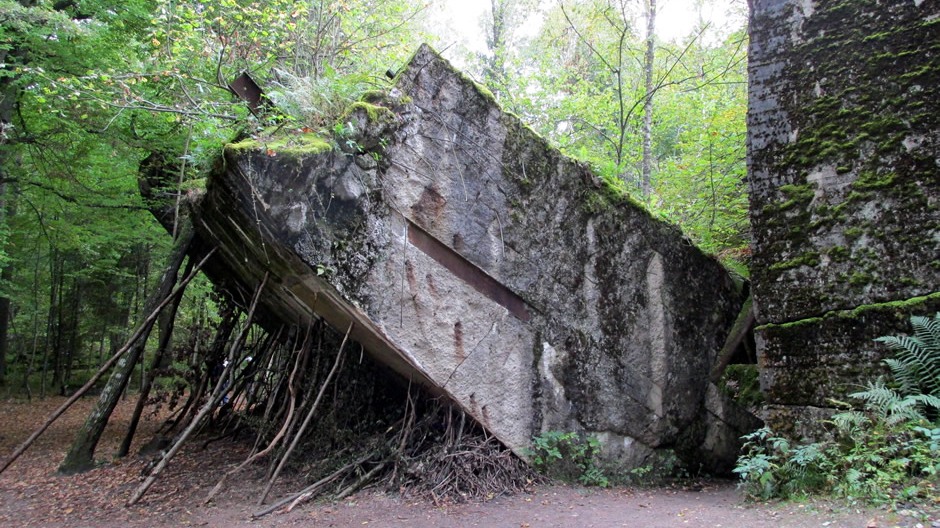
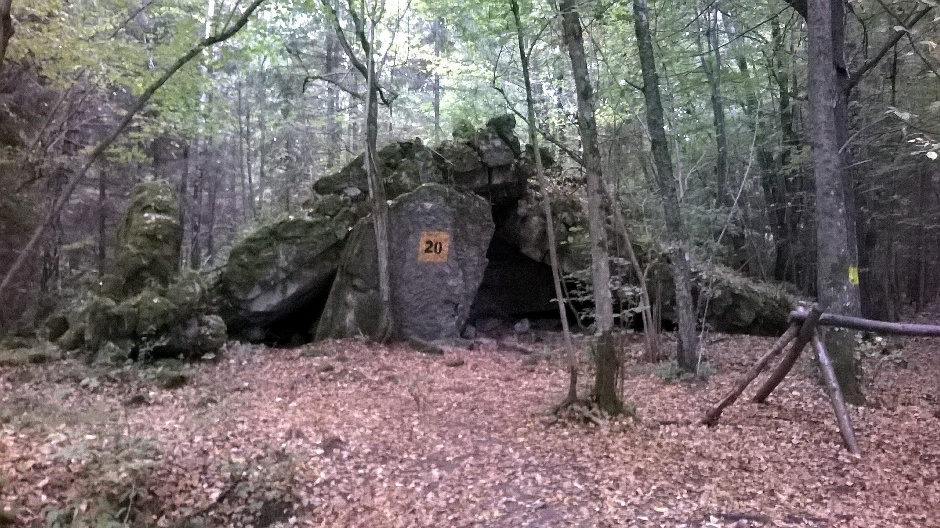
The two photos above are of Martin Bormann 's bunker. Bormann was head of the Parteikanzlei (Nazi Party Chancellery) and gained immense power within the Third Reich. He became Adolf Hitler's private secretary and controlled the flow of information and access to him. Because of his high standing, Bormann had his own reinforced bunker, adjacent to Hitler's bunker. Part of the walls of this large bunker remain intact, although the roof and other walls were blown up. The almost toppled walls remain at a tilt (with sticks put underneath for amusement purposes, to give the effect that they are holding them up).
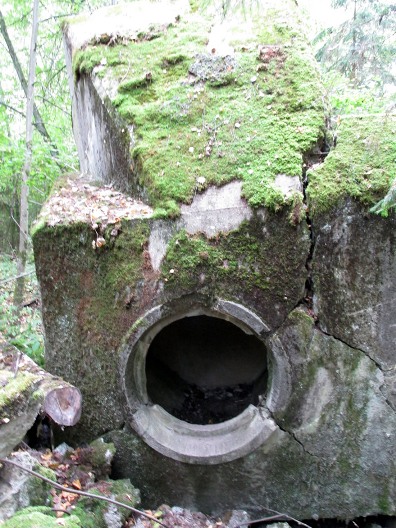
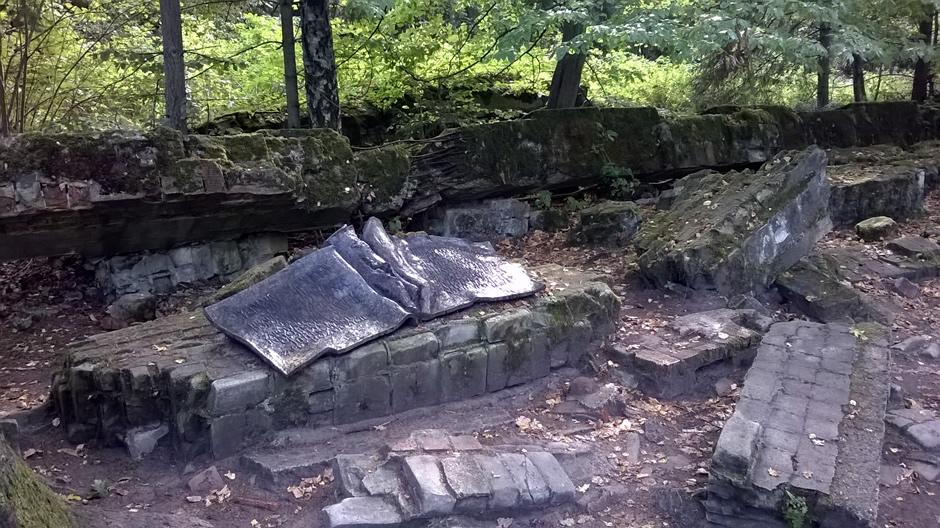
Flakbunker (above): This was an antiaircraft bunker positioned near Hitler's bunker. It was completely destroyed with some of it ending up in the nearby reservoir (shown further down). A rooftop gun position is shown here now lying on its side (jokingly referred to as the washing machine).
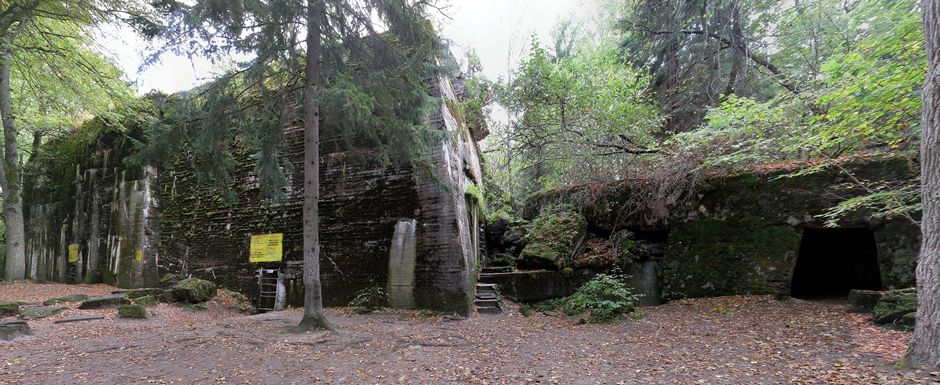
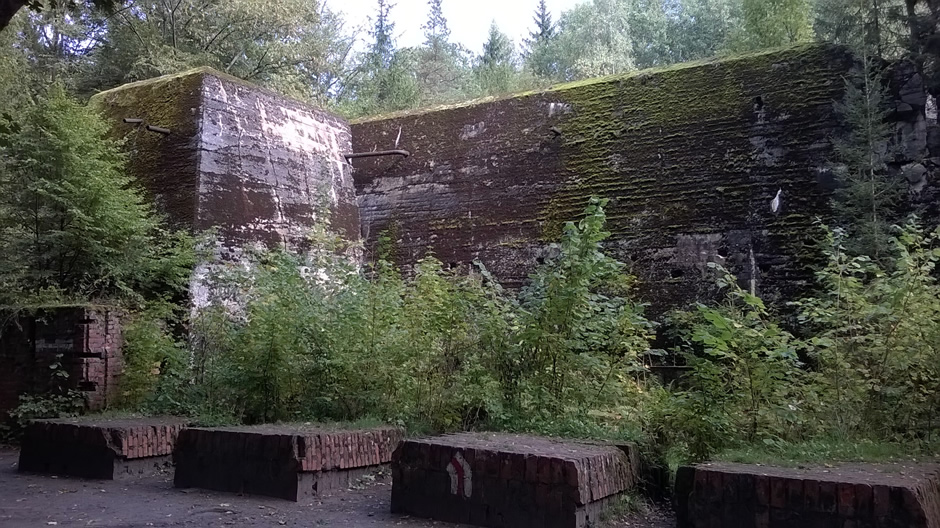
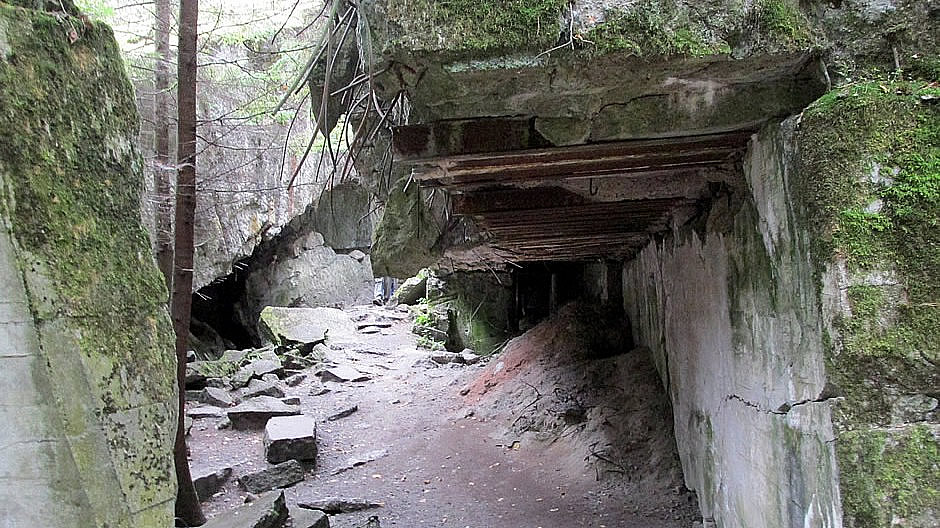
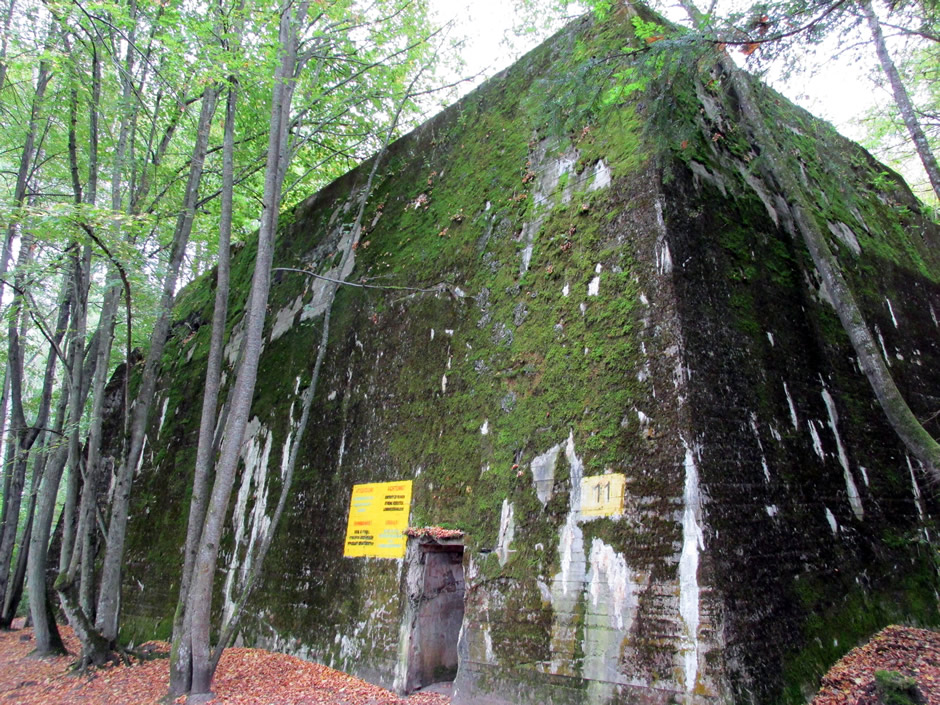
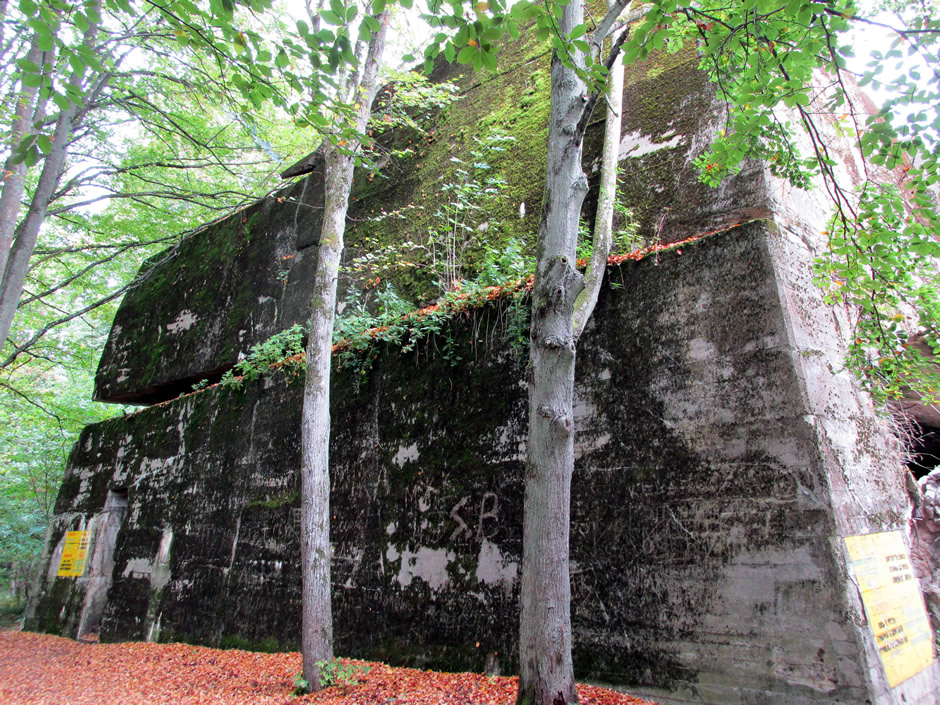
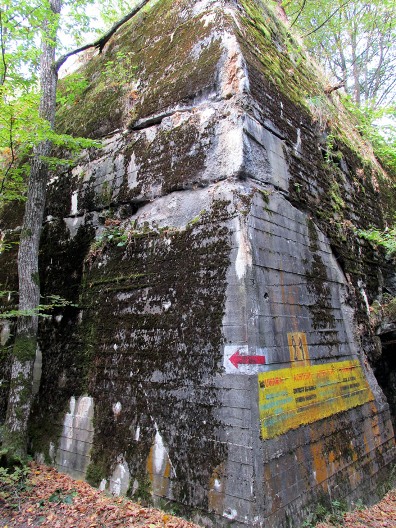
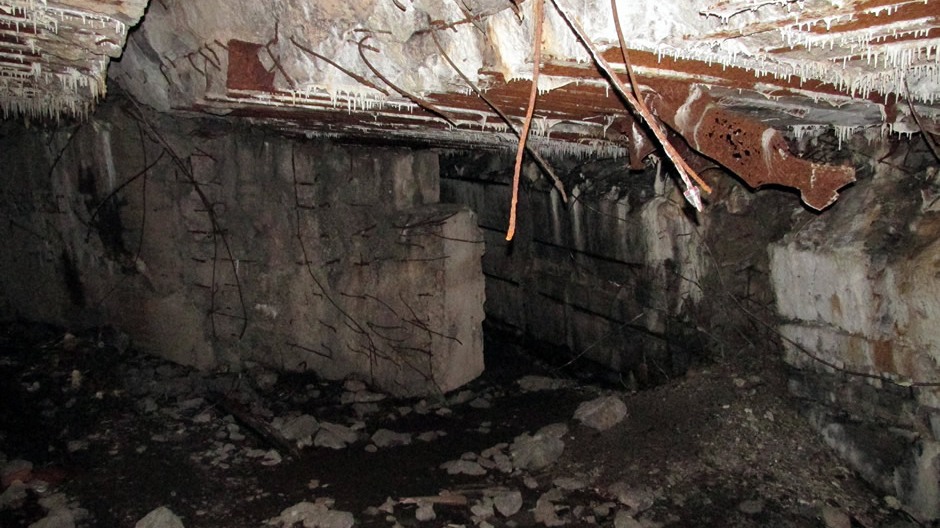
The two (panoramic stitch) photos above are of Adolf Hitler's bunker. The first photo shows it's more intact northern side. It was the largest object at Wolf's Lair and made of reinforced concrete. There were six entrances from this side. The roof, which had its own flak gun mounted on top, was 8.5m thick and the walls 5m thick. Due to the (typically) partial demolition of this bunker, it is possible to access the former interior from the southern side. The interior of Hitler's bunker is shown in the lower photo above. This huge structure served Hitler as both a home and work area and included a kitchen. Near Hitler's bunker are two destroyed objects which were used by Hitler, The New Tea-House and Kasino I (a dining facility).
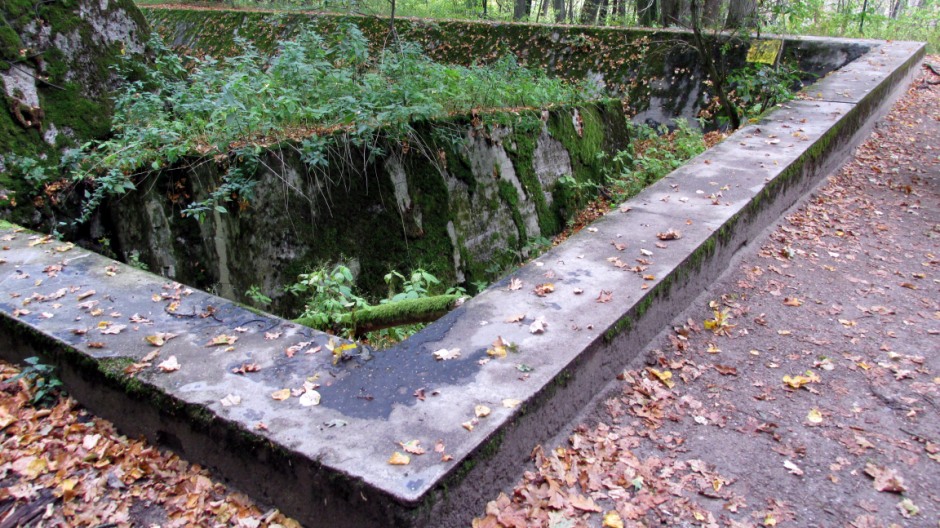
Above: Water reservoir, containing large pieces of the nearby Flakbunker. These pieces are the result of the Flakbunker being blown up during the demolition of January 1945. It is in this area, Hitler would begin the day by taking a walk alone with his dog, Blondie.

Above: Luftwaffe chief Hermann Göring's house.

 |
 |
 |
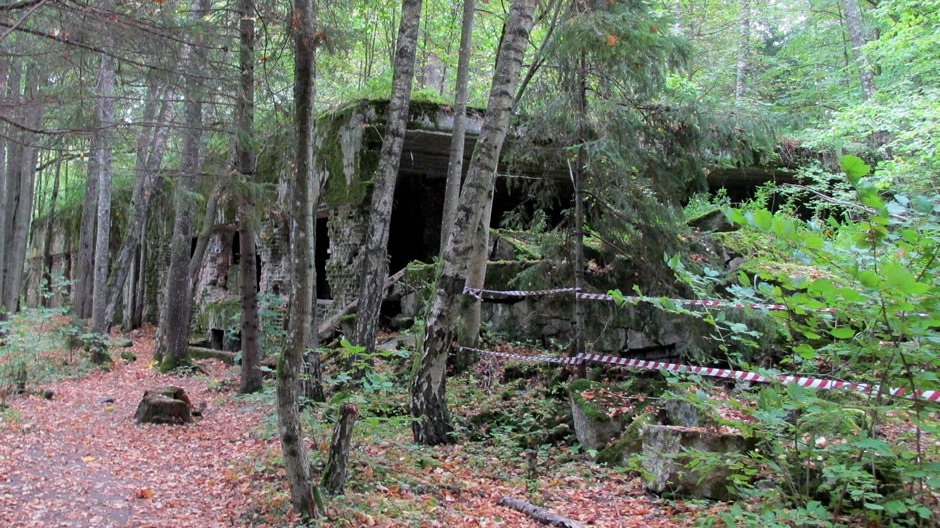
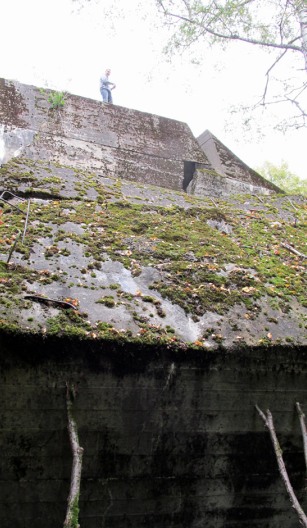
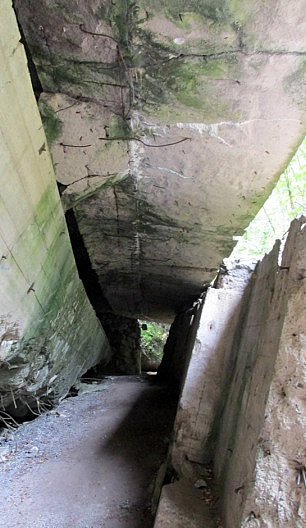
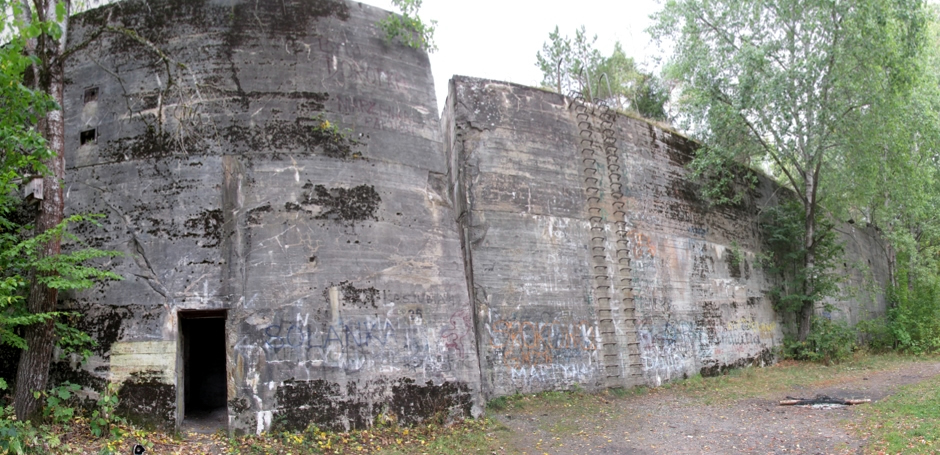
The photos above are of Göring's bunker/ On the top of it were three antiaircraft stations. Visitors may walk around the bunker's interior and from here, see a metal rung ladder which ran up to the roof (pictured). Another metal rung ladder ran up to the roof on the building's exterior. For the more agile and adventurous visitor, it is possible to climb onto the roof. Where damage has occurred, one can see that this large construction had double walls (and roofs); the main bunkers at Wolf's Lair (e.g. Hitler's Bormann's, Göring's and the Guest Bunker) later had an additional 2-3m concrete layer built to provide additional reinforcement. As seen in the bottom right hand photo above, there was a gap between the layers - this was filled with gravel and rubble, acting as a shock absorber for any would be bomb explosions. Because of the sheer thickness of the walls and roofs, the bunkers would have been a lot smaller inside than one might believe from the outside and also, it is not difficult to see why the retreating Nazi's had such a job demolishing the site.
Above: Jodl's bunker. Alfred Josef Ferdinand Jodl was the Chief of the Operations Staff of the Armed Forces High Command (Oberkommando der Wehrmacht, or OKW) during World War II. He acted as deputy to Wilhelm Keitel, and signed the unconditional surrender of Germany. Here at Wolf's Lair, he had a headquarters building and his own living quarters.
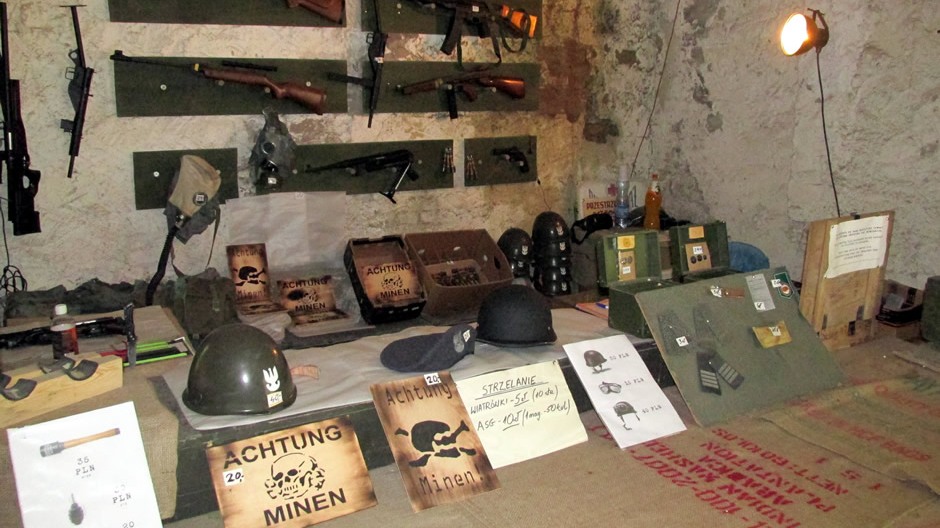
Above: Various artefacts from WWII are on display here.
Above: Kasino II (or Mess II) - a dining facility.
Keitel's bunker is shown in the photo above. Field Marshal Wilhelm Keitel served as chief of the OKW for most of World War II, making him the Chief of Defence for Germany. After the war, he was the third highest ranking German Officer to be tried as a war criminal at Nuremberg and was sentenced to death. At Wolf's Lair, he had his own bunker and as can be seen in the photo, it was badly damaged during the demolition of January 1945.
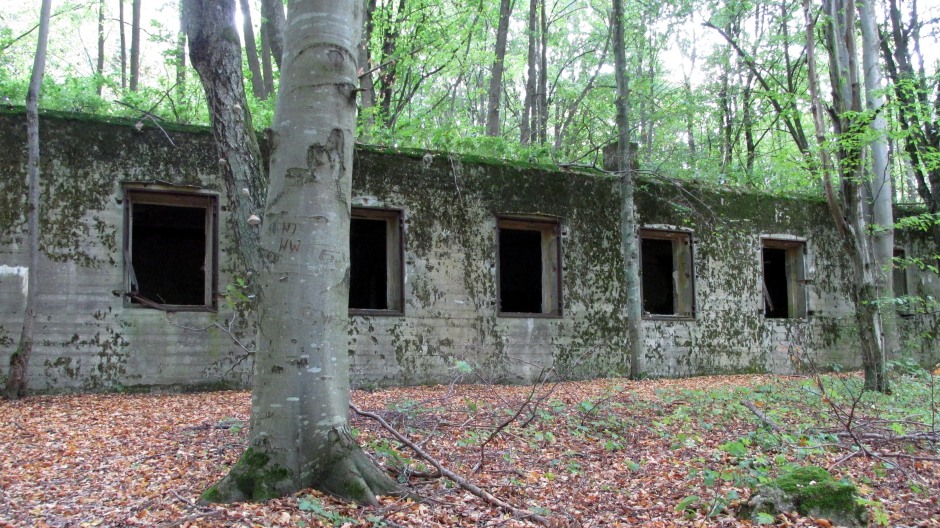
Above: A heavily damaged reinforced multi-wing building which served as a living quarters and office area for various staff to work in, such as Hitler's personal adjutants and army personnel.
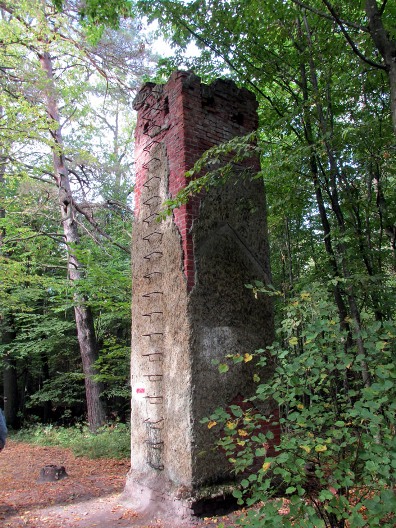
Above: Heating plant ventilation chimney.
The two photos above show a teleprinter exchange - this large reinforced concrete bunker was used by communications personnel.
Above: Staff vehicles garage.
Above: Representation of the Foreign Office. This building was used by the Foreign Minister of Nazi Germany, Joachim von Ribbentrop.
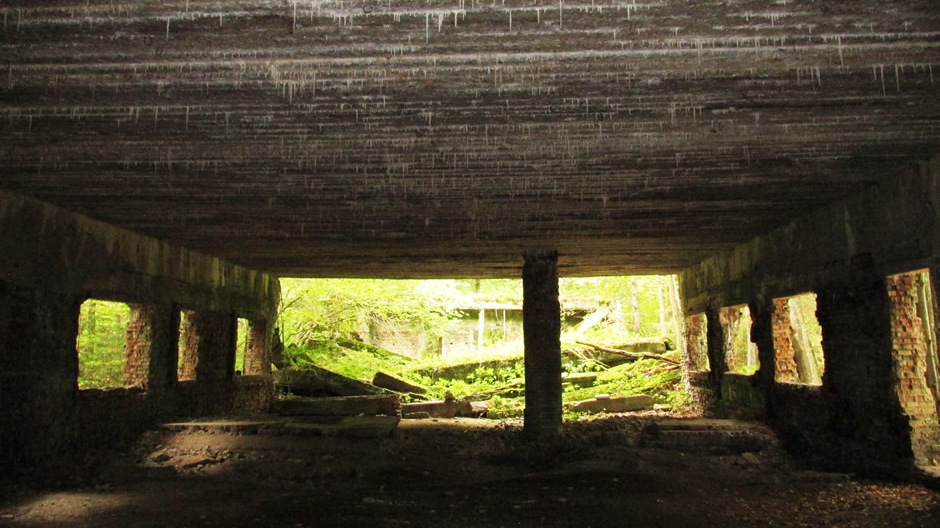
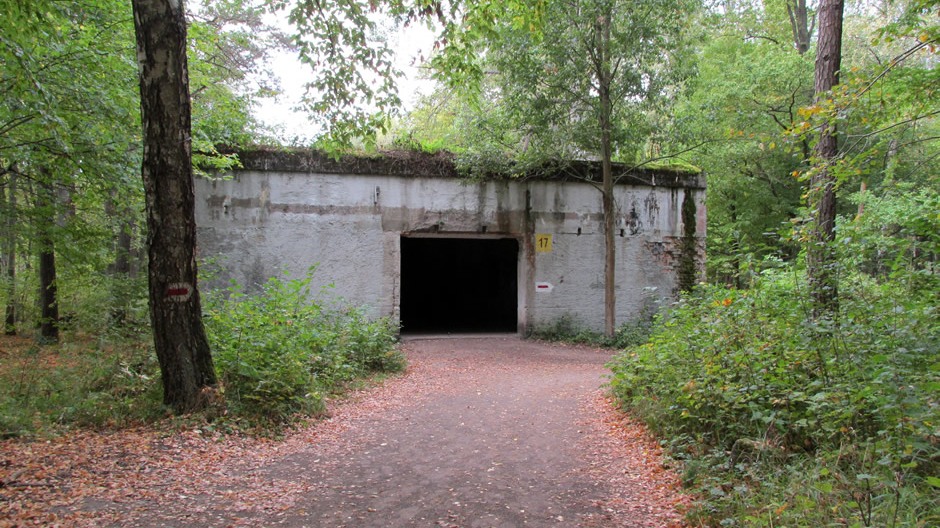
And finally, above is a panoramic stitch photo of a huge Wehrmachts (armed forces) bunker which was used as an air raid shelter.
References:
1. Wolfschanze Plan - An informative Panoramic map of the site complete with text and photographs available from the ticket office at Wolf's Lair.
2. Wikipedia
Note: This page is intended as information for those interested in travelling to places for educational purposes. There are no political or philosophical aims of the author. Please contact us if you feel there may be any errors. See disclaimer page here for further information.
Back to Top